Node.js npm babel webpack vue element-ui easymock
1. Node.js
JavaScript运行环境,类比于java中的jdk
针对不同的终端显示不同的数据,nodejs对返回的数据进行数据裁剪
有类似于tomcat的作用
1
2
3
4
5
6
7
8
| const http = require('http');
http.createServer(function(request,response){
response.writeHead(200,{'Content-Type':'text-plain'});
response.end('Hello Server');
}).listen(8888);
console.log('Server running at http://127.0.0.1:8888/')
|
访问http://127.0.0.1:8888/ 显示Hello Server
2. npm
Node Package Manager – node包管理工具
npm根据依赖下载js文件 – maven根据依赖下载jar包
对文件夹初始化会生成配置文件package.json 类似于java项目中的pom.xml
下载依赖 npm install xx
根据package.json中的依赖可以下载所有依赖的js – npm install
1
2
3
4
5
6
7
8
9
10
11
12
13
14
15
16
17
18
19
20
21
22
23
24
25
26
27
28
29
30
31
32
33
34
35
36
37
38
39
40
41
42
43
44
| #项目初始化,生成package.json
npm init -y
#经过下面的配置,以后所有的 npm install 都会经过淘宝的镜像地址下载
npm config set registry https://registry.npm.taobao.org
#查看npm配置信息
npm config list
#使用 npm install 安装依赖包的最新版,
#模块安装的位置:项目目录\node_modules
#安装会自动在项目目录下添加 package-lock.json文件,这个文件帮助锁定安装包的版本
#同时package.json 文件中,依赖包会被添加到dependencies节点下,类似maven中的 <dependencies>
npm install jquery
npm install #根据package.json中的配置下载依赖,初始化项目
#如果安装时想指定特定的版本
npm install jquery@2.1.x
#devDependencies节点:开发时的依赖包,项目打包到生产环境的时候不包含的依赖
#eslint检查错误-不推荐
npm install --save-dev 插件名称
#使用 -D参数将依赖添加到devDependencies节点
npm install -D 插件名称
#全局安装
#安装在 /usr/local/lib/node_modules/webpack
npm install -g webpack
#更新包(更新到最新版本)
npm update 包名
#全局更新
npm update -g 包名
#卸载包
npm uninstall 包名
#全局卸载
npm uninstall -g 包名
|
3. babel
转码器,把es6转换成es5代码,简化代码开发
- es6仅使用于新版本的浏览器
- es5代码写法麻烦
- 故将es6代码转换成es5代码发布
3.1. es6 -> es5
全局安装babel
1
| npm install --global babel-cli
|
初始化项目
安装转换器
1
| npm install --save-dev babel-preset-es2015
|
新建.babelrc
1
2
3
4
| {
"presets": ["es2015"],
"plugins": []
}
|
es6代码
1
2
3
4
5
6
|
let input = [1, 2, 3]
input = input.map(item => item + 1)
console.log(input)
|
转换
1
| babel test.js --out-file es5.js
|
es5代码
1
2
3
4
5
6
7
8
9
10
| "use strict";
var input = [1, 2, 3];
input = input.map(function (item) {
return item + 1;
});
console.log(input);
|
转换整个src文件夹,存放在dist文件夹中
1
2
3
| babel src --out-dir dist
babel src -d dist
|
3.2. 自定义脚本-package.json
1
2
3
| "scripts": {
"bulid": "babel src\\example.js -o dist\\compiled.js"
},
|
3.3. 模块化
3.3.1. es5
common.js
1
2
3
4
5
6
7
8
| const sum=function(a,b){
return parseInt(a)+parseInt(b)
}
module.exports={
sum
}
|
Importcomm.js
1
2
3
| const common = require('./common.js')
console.log(common.sum(3,2))
|
运行

3.3.2. es6(一)
common.js
1
2
3
4
| export function sum(a,b){
const num = parseInt(a)+parseInt(b)
console.log(num)
}
|
importcomm.js
1
2
3
| import {sum} from './common.js'
sum(3,2)
|
es6并不能直接运行node xx.js,必须转为es5
1
2
3
4
5
| #转换整个文件夹
babel es6 -d es5
#运行
node importcomm.js
|
3.3.3. es6(二)
common.js
1
2
3
4
5
6
7
8
| export default{
addUser(){
console.log('addUser...')
},
listUser(){
console.log('listUser...')
}
}
|
importcomm.js
1
2
3
4
5
| import user from './common.js'
user.addUser()
user.listUser()
|
4. webpack
将多个js文件,css文件,打包成一个文件
4.1. 安装
1
| npm install -g webpack webpack-cli
|
4.2. 打包js
4.2.1. 多个js文件导入到一个js文件
1
2
3
4
5
6
7
8
9
10
11
12
13
14
15
16
17
|
exports.info=function(str){
document.write(str)
}
exports.add = function(a,b){
const num=parseInt(a)+parseInt(b);
return num;
}
const common = require("./common.js")
const util = require("./login.js")
common.info("Hello "+util.add(2+3))
|
4.2.2. 新建webpack.config.js
新建在项目路径下
1
2
3
4
5
6
7
8
| const path=require("path")
module.exports={
entry:'./src/all.js',
output:{
path:path.resolve(__dirname,'./dist'),
filename:'util.js'
}
}
|
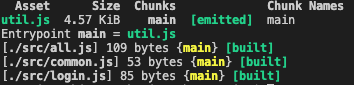
4.2.3. 打包js
1
2
| #终端直接输入命令
webpack --mode=development
|
4.2.4. 引入到html
1
| <script src="./dist/util.js"></script>
|
4.3. 打包css
4.3.1. 安装项目插件
1
| npm install --save-dev style-loader css-loader
|
4.3.2. style.css
放在根目录下
1
2
3
| body{
background-color: azure;
}
|
4.3.3. all.js导入css
1
| require("../css/style.css")
|
4.3.4. 配置在webpack.config.js中
1
2
3
4
5
6
7
8
9
10
11
12
13
14
15
16
| const path=require("path")
module.exports={
entry:'./src/all.js',
output:{
path:path.resolve(__dirname,'./dist'),
filename:'util.js'
},
module: {
rules: [
{
test: /\.css$/,
use: ['style-loader', 'css-loader']
}
]
}
}
|
4.3.5. 重新打包运行
1
| webpack --mode=development
|
5. Vue
简化前端代码开发
https://cn.vuejs.org/v2/guide/installation.html
5.1. 测试
导入vue的js库
1
2
3
4
5
6
7
8
9
10
11
12
13
14
15
16
17
18
19
20
21
22
23
24
25
26
27
28
29
30
31
32
33
34
35
36
37
38
39
40
41
42
43
44
45
46
47
48
49
50
| <!DOCTYPE html>
<html lang="en">
<head>
<meta charset="UTF-8">
<meta name="viewport" content="width=device-width, initial-scale=1.0">
<title>Document</title>
<script src="vue.min.js"></script>
<script src="vue-router.min.js"></script>
</head>
<body>
<div id="app">
<p>
<router-link to="/">首页</router-link>
<router-link to="/student">用户管理</router-link>
<router-link to="/teacher">讲师管理</router-link>
</p>
<router-view></router-view>
</div>
<script>
const Welcome = { template: '<div>欢迎</div>' }
const User = { template: '<div>用户管理</div>' }
const Teacher = { template: '<div>讲师管理</div>' }
const routes = [
{ path: '/', redirect: '/welcome' },
{ path: '/welcome', component: Welcome },
{ path: '/student', component: User },
{ path: '/teacher', component: Teacher }
]
const router = new VueRouter({
routes
})
new Vue({
el: '#app',
router
})
</script>
</body>
</html>
|
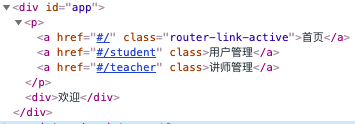
网页中显示的html
6. axios
向浏览器和node.js发送ajax请求
浏览器中并不能得到数据
导入axios的js库
https://github.com/axios/axios
联合vue使用
methods - 定义方法
created - 调用方法
data - 定义变量
可能存在跨域请求拦截 将响应头加上 response.setHeader(“Access-Control-Allow-Origin”,”*”);
1
2
3
4
5
6
7
8
9
10
11
12
13
14
15
16
17
18
19
20
21
22
23
24
25
26
27
28
29
30
31
32
33
34
35
36
37
38
39
40
41
42
43
44
45
46
47
48
49
50
51
52
53
54
55
56
57
58
59
60
61
| <!DOCTYPE html>
<html lang="en">
<head>
<meta charset="UTF-8">
<meta name="viewport" content="width=device-width, initial-scale=1.0">
<title>Document</title>
<script src="axios.min.js"></script>
<script src="vue.min.js"></script>
</head>
<body>
<div id="app">
<table>
<tr v-for="teacher in teacherList">
<td>{{teacher.id}}</td>
<td>{{teacher.name}}</td>
<td>{{teacher.intro}}</td>
<td>{{teacher.career}}</td>
<td>{{teacher.level}}</td>
<td>{{teacher.avatar}}</td>
<td>{{teacher.sort}}</td>
<td>{{teacher.gmtCreate}}</td>
<td>{{teacher.gmtModified}}</td>
</tr>
</table>
</div>
<script>
new Vue({
el: "#app",
data: {
teacherList:[]
},
created(){
this.getTeacherList()
},
methods:{
getTeacherList(){
axios.get("http://localhost:8080/eduservice/edu-teacher/listTeachers")
.then(response=>{
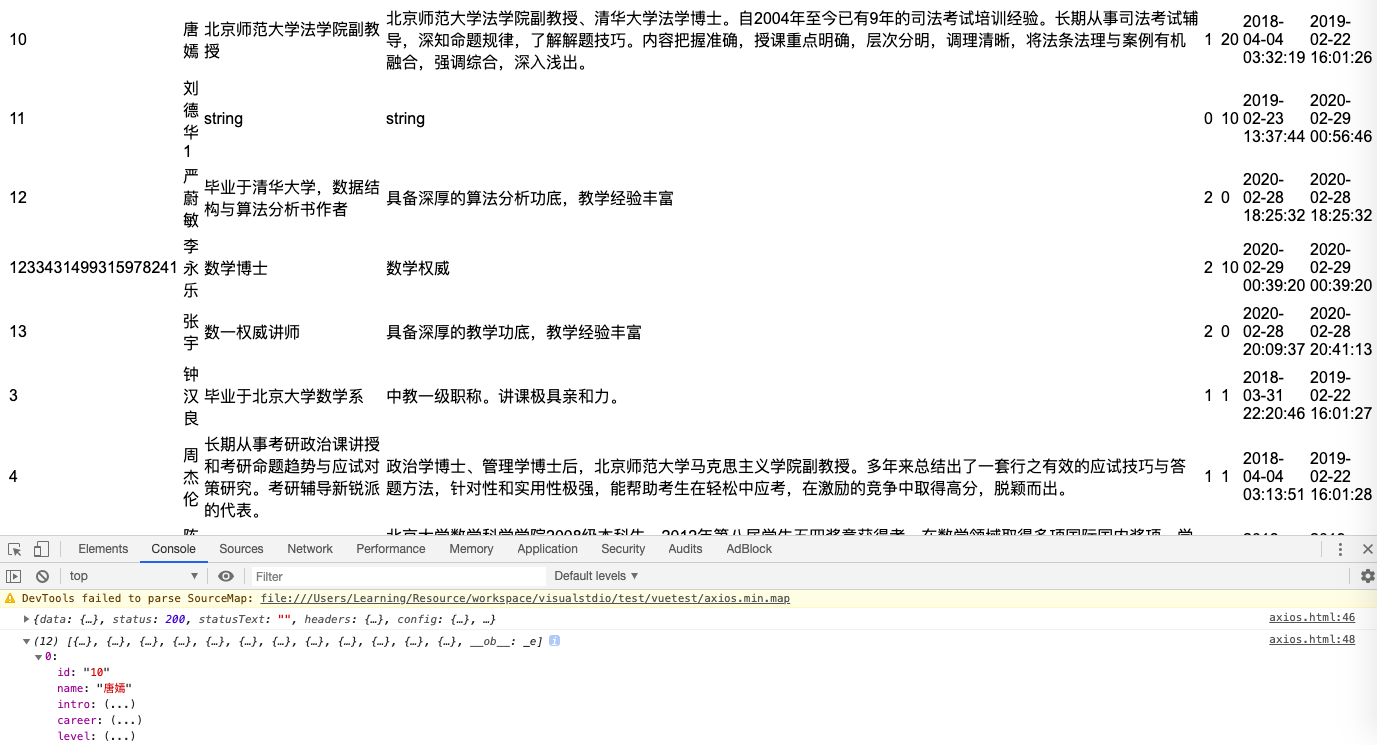
console.log(response)
this.teacherList = response.data.data.items
console.log(this.teacherList)
})
.catch(error=>{
})
}
}
})
</script>
</body>
</html>
|
7. element-ui
饿了么前端出品的vue.js的后台组件库,方便程序员进行页面快速布局和构建
https://element.eleme.cn/#/zh-CN/component/transition
8. Easy Mock
开发时,模拟生成数据
1
2
3
4
5
6
| $ git clone https://github.com/easy-mock/easy-mock.git
$ cd easy-mock
$ npm install -y
$ npm run dev
# 访问 http://127.0.0.1:7300
|
不会用!